Yesterday I shared with you that I had the privilege of appearing on the television show Craft Wars with my good friend Kathleen. We were issued the challenge of making a ?Thanksgiving Wine Rack? in one hour using some of the following materials: pie tins, acorns, silverware, turkey basters, footballs, and craft supplies from the craft closet. Kathleen came up with a?GENIUS?design plan. I am not a math girl, and this baby requires some quick math to pull off. On the show, our original idea was to wrap the wine rack in rope or twine?but from all of the yarn wreaths and jute wrapped decor I have created over the years I just knew there was no way we would have enough time. Our second idea was to cut strips of burlap and twist the strips as we went along to create a ?braided? look. This actually looked kind of cool but again?no time! So the burlap just had to be wrapped around in strips. I have crafted with burlap MANY times before, and I?ve never worked with burlap that frayed so much. This stuff was ridiculous and our wine rack was a big craft fail. But Kathleen?s idea was a fantastic one, so we wanted to recreate it for you just in case you want to try your hand at making your own!
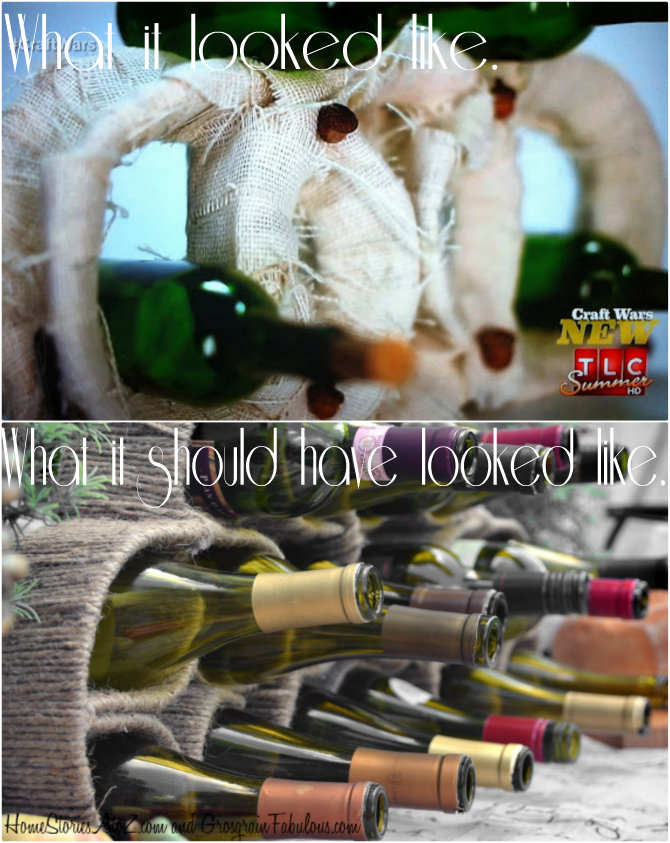
Instead of pie tins in the list of supplies you will see aluminum flashing. Roof flashing is so much easier to work with than pie tins and will give you a much cleaner end result! We didn?t think you?d mind *wink*.


In the picture below you can see the supplies we used. For this project you will need:
- Aluminum Metal flashing (You can find it in the lumber section in Lowes along with other roofing supplies. I think I bought the 10?L x 14?W Amerimax Flashing. It was around $8.50.)
- Flash mate glue (This will be in the same aisle.)
- Caulk gun
- Scissors that will cut through metal. Wire snips will work.
- Measuring tape
- 10 Metal clips
- Electrical tape
- Hot Glue/ Hot Glue Gun
- Around 3 spools of twine


Your flashing is currently 14 inches wide and 10 feet long. You want to cut the entire thing in half lengthwise so that you?ll have two 7? wide x 10? long pieces. After you?ve cut your flashing in half, take your tape measure and scissors and cut your flashing into five 30? long pieces. Now put those in a pile and maybe slap a sticky note on them so you don?t forget their size! Then cut three 14? long pieces (pile and sticky note) and then cut two 21? long pieces (slap on a sticky).


Take your FIVE 30 inch long pieces and grab your FlashMate glue. For each 30 inch long strip you will glue the ends together to create a circle. Add a long strip of glue to one end and glue both ends together, 1? deep. Your circle should now be 28? in circumference. Repeat this step until all five circles are complete.


Add two metal clips to the ends to hold while the glue dries.


If you want to reinfornce the metal ends, use electrical tape and wrap around where the ends meet. The glue is sturdy but it takes a long time to dry and we didn?t want any surprises later on with the rack falling apart! Once all of your glue is dry you will have five 28 inch circles.


You are now ready to connect these babies in an Olympic type circle! Grab those five circles and a marker and make a little mark every 7?.?Take three circles and using your metal shears make slits at three of the marks you made. Leave ?? of an inch uncut. Take two circles and make slits at two of the marks you made. (For the two circles, the slits should be at marks that are next to each other, not across from each other). This is complicated and very mathy but look ahead at the picture below Step 6 to get an idea of where you need to cut the slits on your circles.


Slide the circles together by interlocking the slits you just made in Step 5.

?

Reinforce all of the slits with electrical tape.


Now you are ready to fill in the circles with some decorative flashing that will make this wine rack look like a geometric wonder! Grab your two 21? pieces, your tape measure, and marker and again make a little mark every 7?.?Take your 21? pieces and bend the flashing in a ?W? shape at each of the marks.


Take your three 14? pieces and bend them each in half.


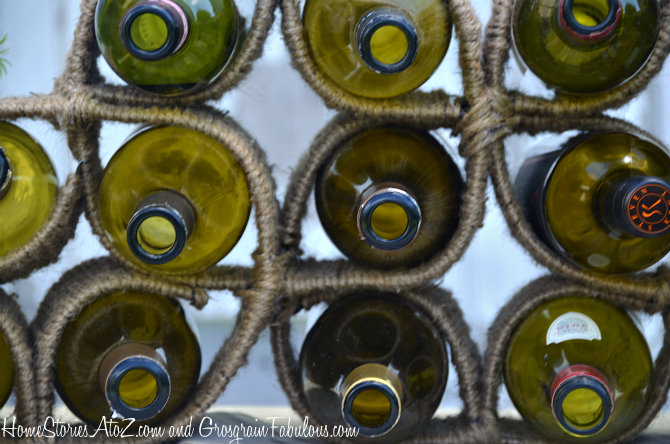
Place your 14? pieces on top and in the bottom/middle circle. Reinforce with electrical tape.?Place your 21? ?W? pieces in the left and right bottom circles. Reinforce with electrical tape. Do a little dance my friend because you just made a wine rack!! It will feel flimsy. This is on purpose. The wine rack needs to flex to fit all of your wine bottles.


If you have every made a yarn wreath you KNOW how long this will take. Wrap your entire structure with jute twine and hot glue if you dare. You could also wrap it in fabric strips or thick ribbon if you?re not willing to do all of that wrapping.

When you?re done, your wine rack will hold 16 bottles of wine.

Of course we had to redeem ourselves after that awful craft fail, so Kathleen and I made a celebration out of the occasion by throwing our own little wine party!
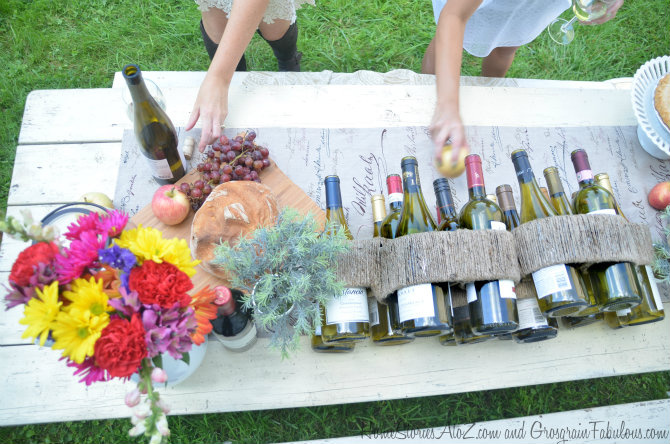
I staged the photos at an old barn in our area. I LOVE this old barn! If you remember my family photos from last year, we took them at this location as well.
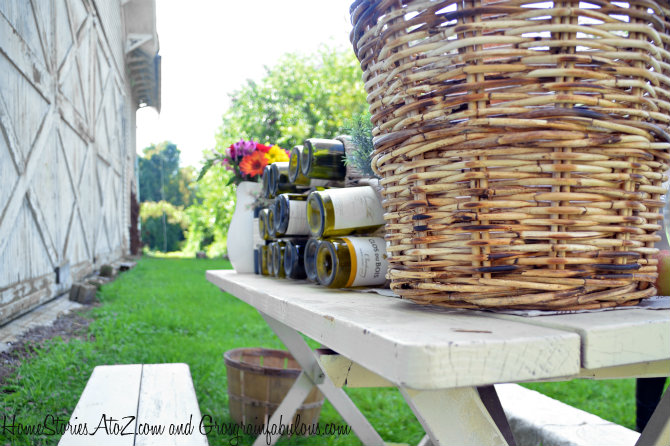
A few more gratuitous shots of our hard labor!
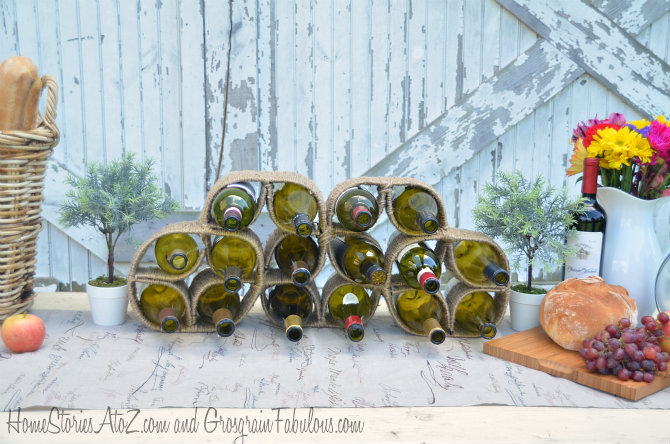
Cheers girl! We might not have moved on during our episode of Craft Wars, but Kathleen and I certainly can accomplish some beautiful projects together!

I hope you?ll try your hand at making our wine rack! And if not, I hope you?ll at least stay and enjoy some wine ![]() .
.

?
Source: http://www.homestoriesatoz.com/2012/08/diy-wine-rack-tutorial.html
cyber monday best deals brownback brownback salvia cybermonday deals cybermonday deals steve johnson
No comments:
Post a Comment
Note: Only a member of this blog may post a comment.